I found a tutorial for it here and found it to work well for me. I played with the measurements since I wanted my bow to be bigger.
Here is the recipe I used that I found on this website:
1(.25 ounce) package unflavored gelatin
1/4 cup cold water
1 teaspoon almond extract (I used vanilla)
1/2 cup of light corn syrup
1 tablespoon glycerin (you can find this in the drug store, it's far right in the picture below)
2 pounds confectioners' sugar, divided
1/2 teaspoon of shortening

Sprinkle the gelatin over the cold water in a small bown and let it rest for 2 minutes to soften.

Place the bowl in a microwave for 30 seconds on high, until the gelatin dissoves.

Add the extract, corn syrup and glycerin. Stir until the mixture is smooth and clear (if the mixture is not turning smooth and clear microwave it for an additional 15 to 20 seconds on high and stir again). I have to say that this smells horrible and is the consistency of mucus (sorry) but that is what I ended up with.

Sift 1 1/2 pounds of the sugar into a large bowl. Make a hole in the sugar and pour the liquid mixture into it.

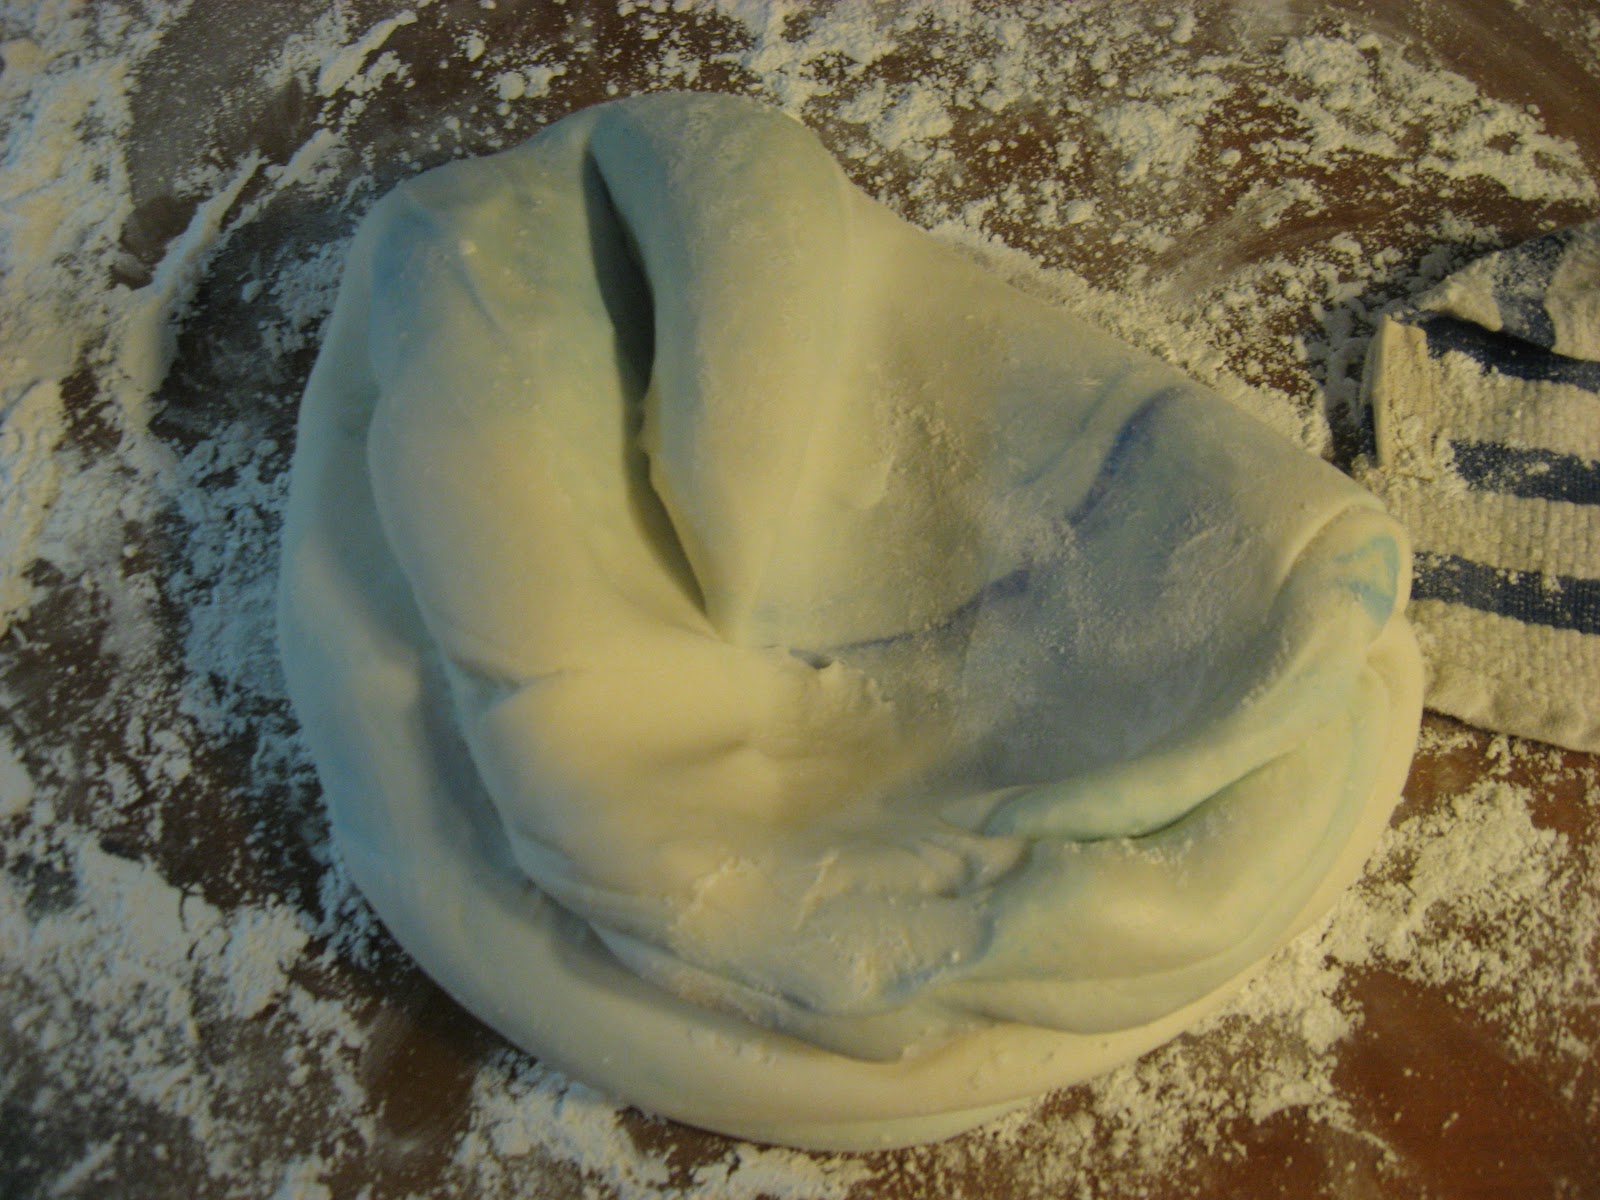
Stir with a wooden spoon until the mixture becomes sticky. It looks crumby but I just dumped it out onto my surface and started working it and it came out nice.

Sprinkle some of the remaining sugar on a smooth work surface. Knead the fondant adding more sugar as necessary, to form a smooth pliable mass. You'll have to keep adding sugar to the surface as it will get incorporated into the dough. Then rub the shortening on your thumbs and knead it into the fondant. After I got done with my first batch I decided to make a second one since I wanted to make sure I had enough. We all know that it's better to have more than you need than not enough. Especially when you would be trying to match a color if you had to make more.

Now, to color the fondant. Using a toothpick add dots of icing color (use a clean toothpick each time you dip it in the color). Remember, only add a little at a time, knead it until the color is evenly spread, then if you want it darker add a little more color.

Now, if you're not ready to use it right away and need to store it wrap it in plastic wrap and place in a tightly sealed container to prevent it from drying out. If the icing dries out and hardens it can often be revived by popping it into a microwave for a few seconds and then kneading it again. I had to do this when I had to replace one of my loops and it works well, just don't over heat it, I did this and ended up with melted sugar and burned my fingers since I was in a hurry and not really paying attention.
Now I covered my work space with LOTS of confectioners' sugar and rolled it out.

I figured out (somewhat) the measurements I wanted from working with the tutorial on the website I found. It was not fun but I was happy with the finished product and that's all that matters. So I cut out the strips I wanted and formed the loops. The papertowel holds the loop open as it dries. I made the bow 2 days before the shower and ended up replacing one of the loops the night before because trying to move it to the cake one of them broke.

I regret putting the bow on a papertowel, it was such a pain to get off of it the next day. If you end up with any cracks (which I did) I just took a little water on my fingers and smoothed it back together.

Now for the frosting, since that's the next step.
I use my grandmother's frosting recipe, it's a wonderful decorating icing since it dries and holds your decorations.
It's very simple:
2 pounds confectioners' sugar
1 1/2 cups shortening (do not use cheap stuff! I did this once and it was the completely wrong consistency so I spend the money and buy Crisco)
1/2 cup milk
2 teaspoons vanilla extract (or whatever flavor you want to use)

Put everything in your mixer.

And mix! I hold a towel over it for the first little bit until the sugar is all wet, or else you'll end up with sugar everywhere.

And that's it! I scrap the bowl a couple of times during mixing to make sure everything gets included. :-)

Aaaaaaand I made, I think, five batches. That's 10 pounds of confectioners' sugar and a whole container of Crisco (3 pounds!) Sounds gross but it tastes ooooh so good.

Ok, now I took my base cake out of the freezer, cut it in half (I really need to get an actuall cake cutter, cut myself GOOD with my bread knife, still have a mark from that and no I didn't get any blood on the cake). I set the bottom half on a foil covered board, took some frosting and piped a border around the top of it to hold in the filling. Then I spread the filling inside.

I put the top on it, frosted it, then took the top cake out of the freezer, cut it in half, and put the bottom half on top of the bottom cake.

Did the same thing I did with the first one with my other filling, put the top on it and then frosted it. I crumb coated everything once with a thin layer of frosting, let that dry then put another layer on so that the crumbs should stay in the first layer.

Now the fun part!!!! I layed my strips for the sides of the "gift" on.

And I rolled out looooooong "snakes" (it was like playing with playdough!!) but couldn't move one long piece so it ended up going on in a few pieces around the bottom of the top layer. And you can see that I "drew" my design on. I used my thermometer since it has a nice point.

And now add the bow!!!

Now, I had wanted a nice deep brown for the design on the bottom layer, but I used my whole container of brown coloring and ended up with a gold color. I would have added some black to darken it but I didn't have any.

I used a #6 round tip (thank you Lynn....or mom....whoever's it is) and followed the design I had drawn on there.

Then I piped some dots around the bottom to look like little beads.

If the frosting seems too thick you can always add a few drops of milk, or if it seems to thin and it won't hold it's form you can add a little sugar at a time until you get a consistency you like.

Now to leave you with a picture of the gorgeous little man whose shower this cake was for.

My sweet nephew JJ. I may be partial but I think he is pretty darn cute. Of course my niece and nephews all are. :-)
That looks awesome! Great job with all the hard work!
ReplyDeleteYour nephew is so precious. :)