Well now that the cake is done, the shower is over and the cake is gone I can blog about it!!! This may take a few blogs for everything so that I don't have one huuuuuuuge blog. So I will start with the cakes themselves. I did one 16 inch square and one 12 inch square, and I drew out my design.


Here's the pan with one box.

Two boxes

Three boxes

And the 2 cups I measured out of the last box.

The Wilton website also tells you how long to bake cakes and at what temperature.

Now for the Vanilla cake. I greased with Crisco again and dusted with flour.


Here's one box


So, two dozen eggs later, the cakes are in the oven!

And here they are!


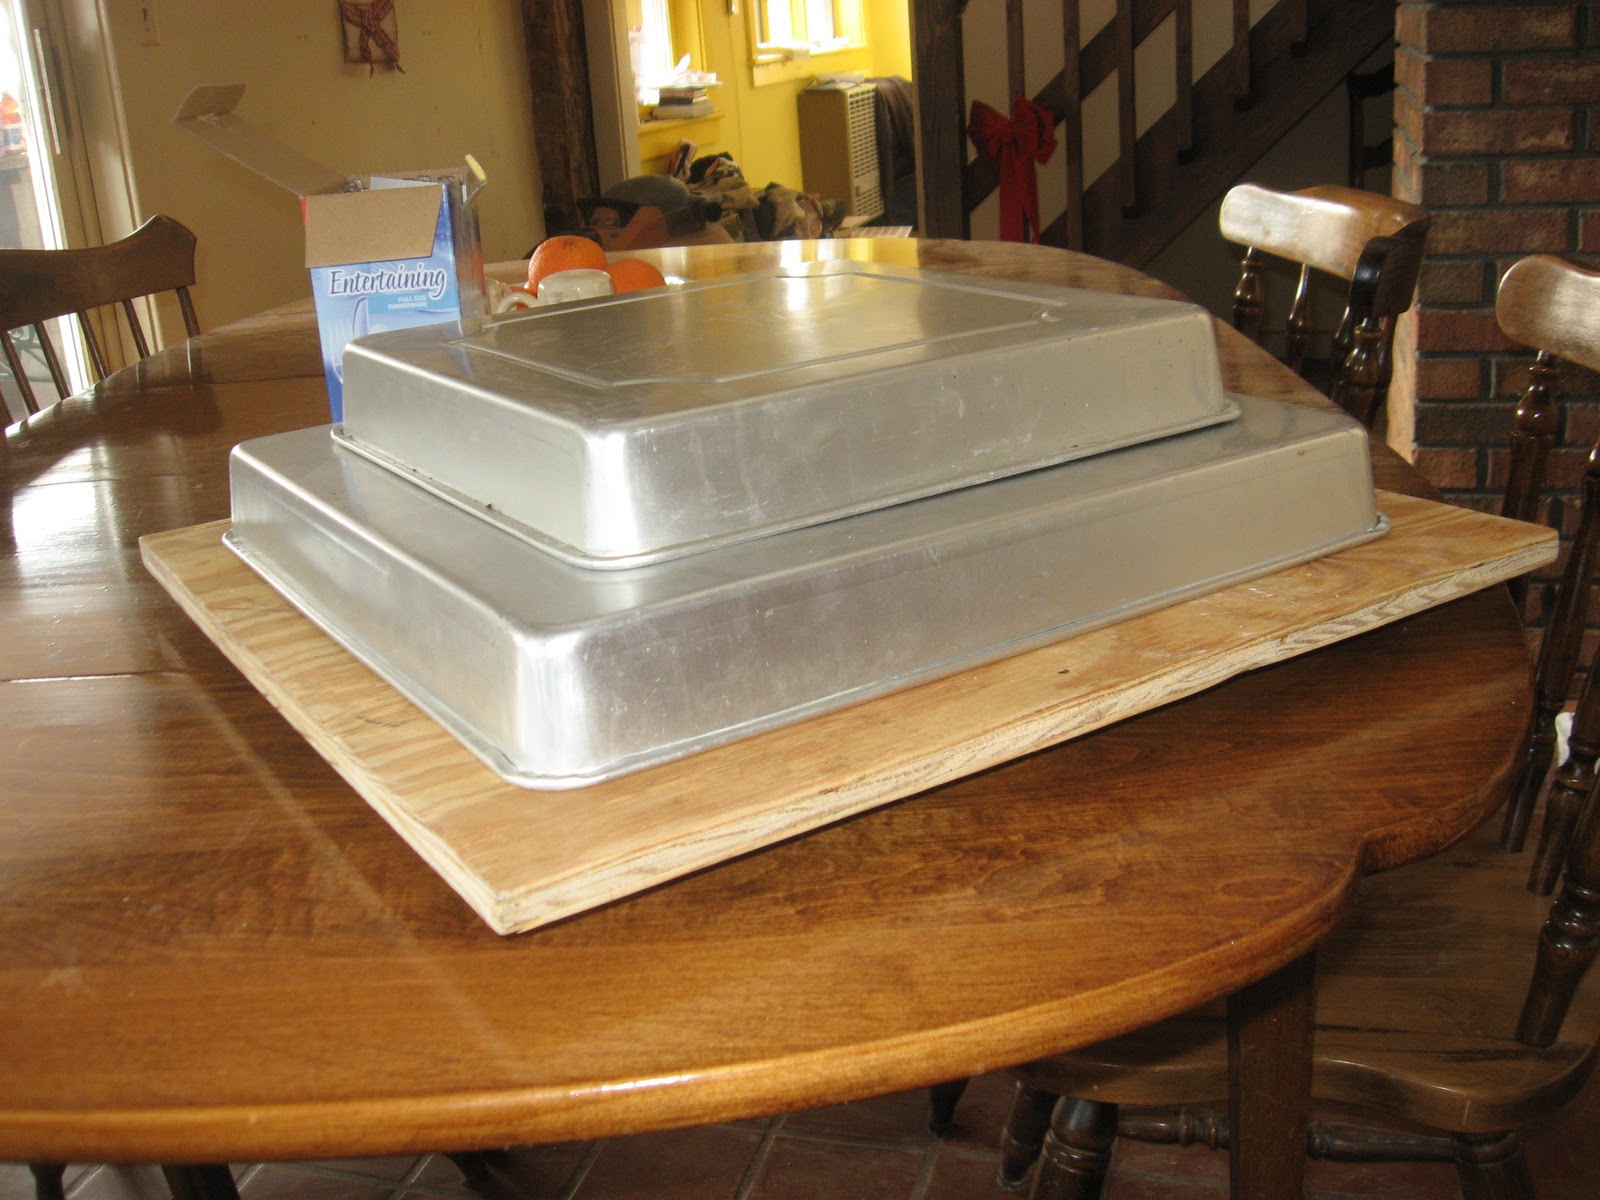
I leave it like this for about 15 minutes. Then I take the weight and the pan off (be careful because the pan will still be hot) and let the cake cool completely.
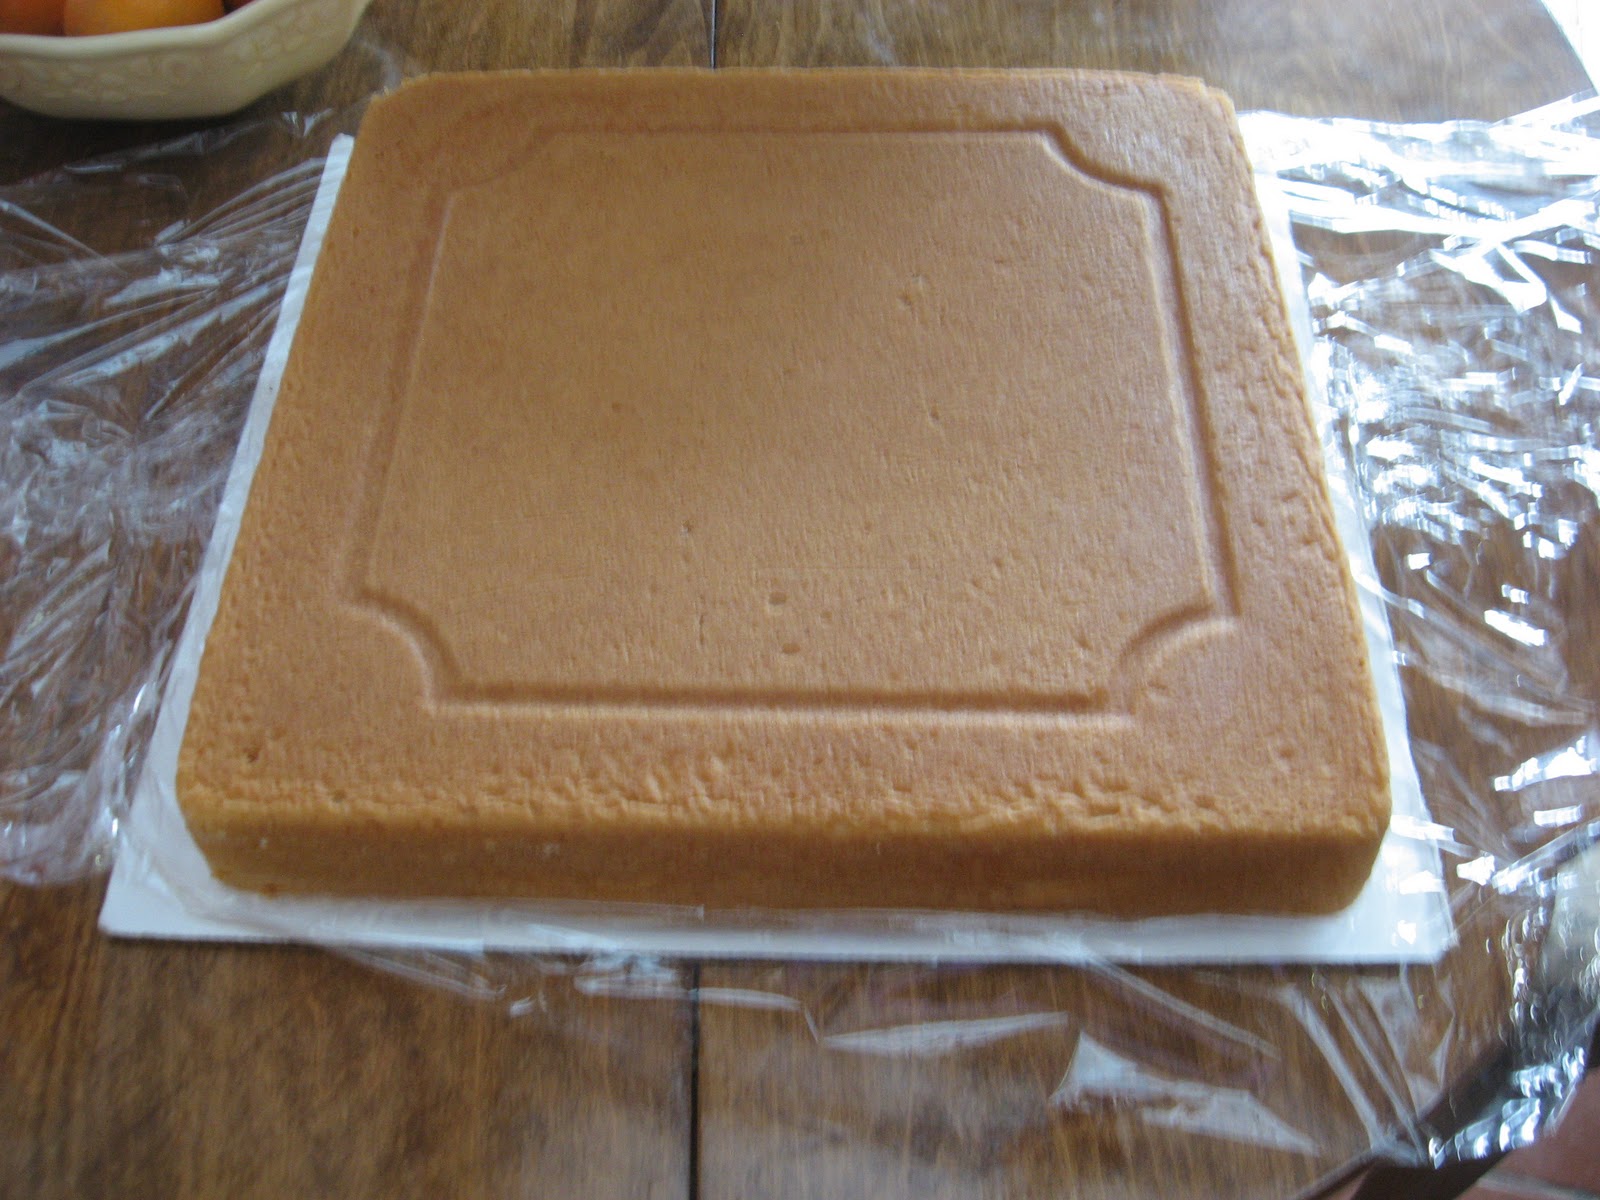


Now they're ready to be put in the freezer! I like to put them in there because that means I can bake them off whenever I have time in advance, it makes it easier to cut them if you're going to put a filling in them (it's just a little hard in the middle when it's frozen but there are less crumbs) and helps with frosting it since it's not so crumbly when it's frozen. Note: do not freeze a decorated cake, I have never tried this but I can imagine that the frosting would lose something and it will make the colors run when it thaws out. Also, if you're doing more than one of one size when the cake is frozen you can take it out of the cake pan and re-use the pan for the next one.
If you have the time to decorate your cake the day of don't worry about it being frozen, they thaw out quickly. So you could pull it out in the morning to decorate it and it'll be ready to be enjoyed within probably only an hour.
Next blog will be the fillings and fondant!!
Sarah - I knew that all that math you took in high school would pay off. I had so many complements on your cake that I lost track. The best part of Grandma's cakes was that they not only looked great but tasted great (which CANNOT be said for all cakes) and yours do to. You are following well in her footsteps. Thank you again for all of your work in making such a beautiful cake for Lynn (and all the rest of us too!)
ReplyDeleteFillings! Fillings! My FAVORITE part!! Thank you SO much for all your hard work...JJ thanks you too!!
ReplyDeleteYou are so talented! Can't wait to read more. :)
ReplyDelete