Sunday, February 6, 2011

Yummy Goodness

Well, I'm going to tell you about the fillings I made. For the chocolate cake I made Chocolate Almond Ganache (perfect for a chocoholic) and for the vanilla cake I made Vanilla Chocolate Chip Buttercream.

For the Ganache I used 2 pounds of chocolate (the recipe said to spend the money and get good chocolate well I used Bakers chocolate since the expensive stuff comes in smaller amounts and Bakers chocolate is good anyways!) 4 cups of heavy cream and Almond extract.
Start by chopping the chocolate until it's very fine. You'll have great arm muscles once you're done with this step! Hahaha. Here's once box chopped.
 8 ounces
 16 ounces (I'm not sure why this program keeps flipping my pictures and I don't know how to flip them back)
 24 ounces
 And 32 ounces!!
Heat the cream to almost boiling in the microwave. I also added my almond flavoring here, use as much or as little as you like.
 Pour the hot cream over the chocolate pieces.
 Let stand for 5 minutes (this is why you want the chocolate chopped as much as possible so that it will melt quickly).
 Now stir until smooth and you're done! Keep in refrigerator until you want to use it. It gets hard as it cools so what I ended up doing was putting the bowl in a hot water bath when I was ready to use it until it was a nice spreadable consistancy.
 Now for the Vanilla Chocolate Chip Buttercream:
1 pound confectioner's sugar
1/2 cup milk
1/8 to 1/4 tsp salt
1/2 tsp vanilla
2 sticks butter, cut into 1/2 inch slices
1/2 cup shortening
3/4 cup chocolate chips, crumbled in a food processor
One package vanilla instant pudding mix

Using the wisk attachment on your electric mixer mis the confectioner's sugar, pudding mix, chocolate chips, vanilla and milk at low speed until smooth.


Add butter one slice at a time until incorporated.
Add shortening and whip at highest speed 10-12 minutes until volume increases by at least 50%

And there you are. This needs to be stored in the fridge also and I did the same thing with a hot water bath for it when I was ready for it.

Now, I was going to do the fondant in this one too but Matt's awake so I'll do it in another one. That one couple potentially be a long one anyways. So, enjoy!!!

Cakes cakes cakes

Well now that the cake is done, the shower is over and the cake is gone I can blog about it!!! This may take a few blogs for everything so that I don't have one huuuuuuuge blog. So I will start with the cakes themselves. I did one 16 inch square and one 12 inch square, and I drew out my design.
Now, a 16 inch takes 15 1/2 cups of batter. A normal box cake mix makes 4 1/2 cups of batter. So I used 4 boxes and measured 2 cups of batter out of the last box so that I had exactly what the pan can handle and made cupcakes out of the extra batter. A 12 inch takes 10 cups so I used 3 boxes and did that same thing. Here's the Wilton website to help you figure out how much batter any 2 inch deep pan takes.
Now, for the 16 inch one I did chocolate so I greased the pan with Crisco and dusted it with cocoa powder.
Here's the pan with one box.
Two boxes
Three boxes
And the 2 cups I measured out of the last box.
The Wilton website also tells you how long to bake cakes and at what temperature.
Now for the Vanilla cake. I greased with Crisco again and dusted with flour.
Here's one box
 Two boxes

And plus one cup to make 10 cups
So, two dozen eggs later, the cakes are in the oven!

And here they are!
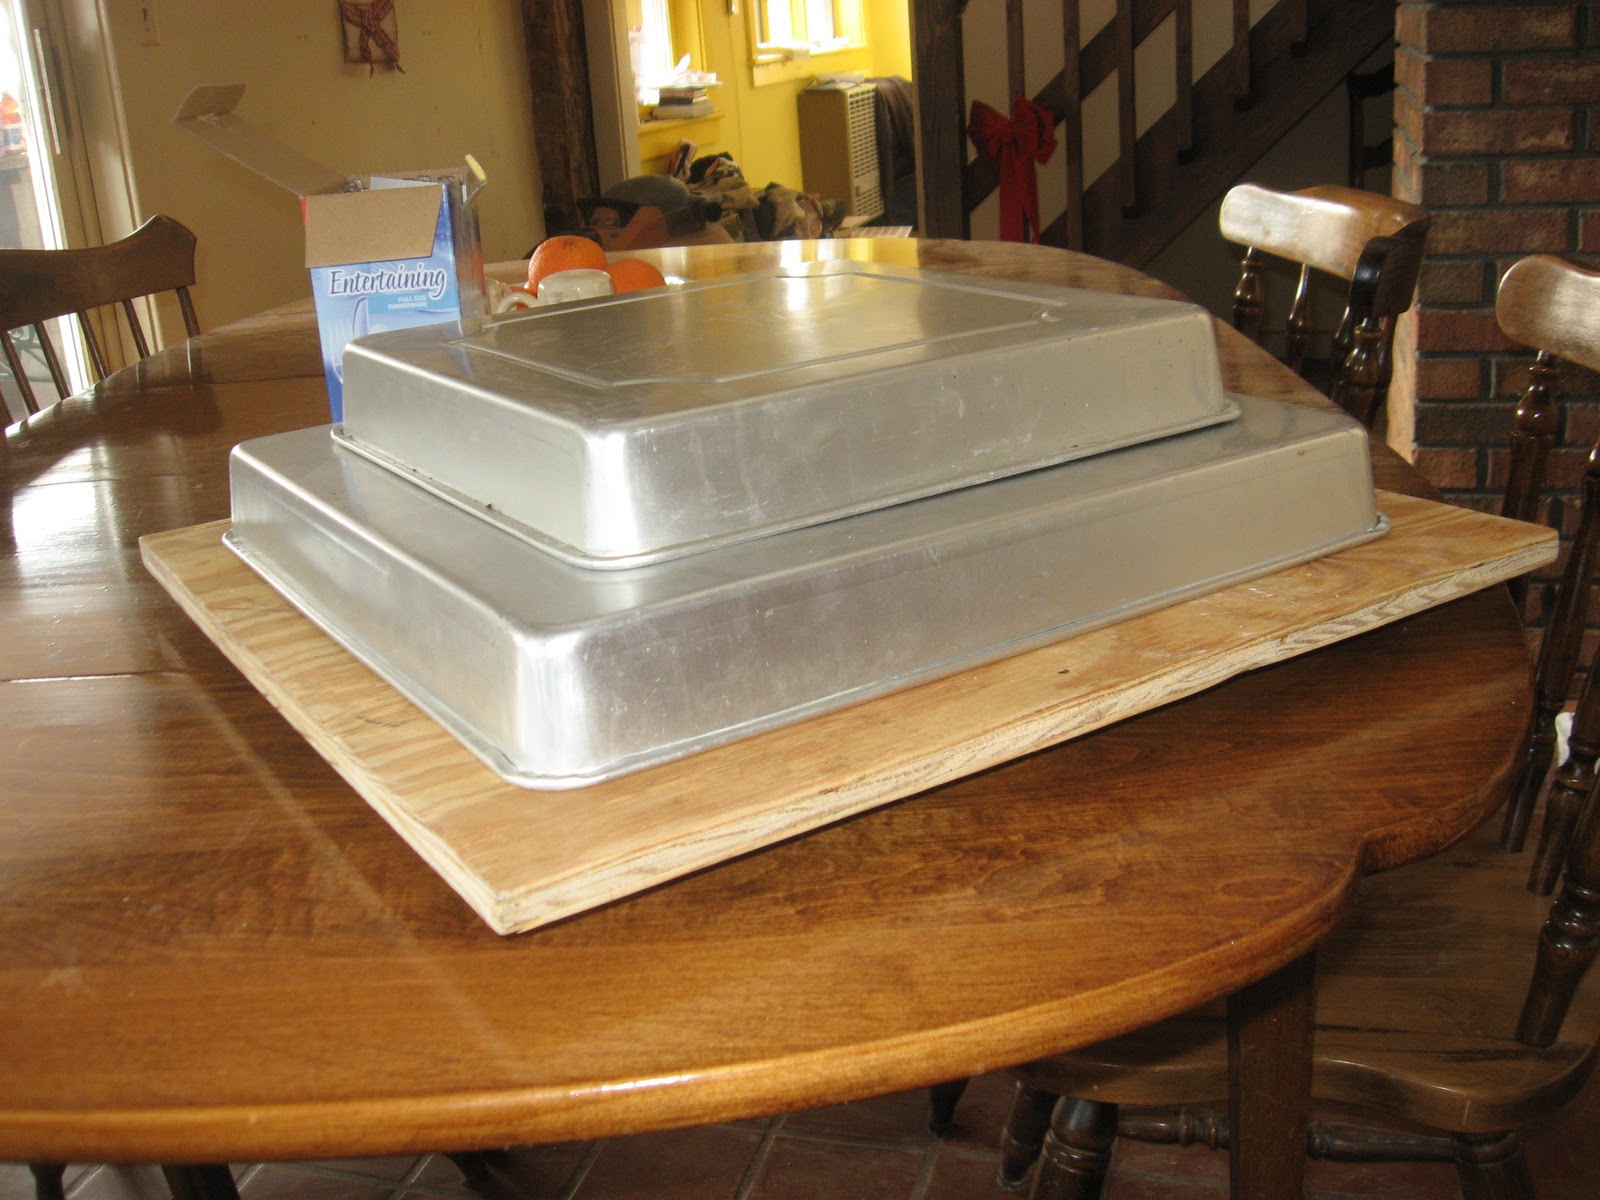
 Now, what I do next is I let it sit for 5 minutes, cover it with plastic wrap, flip it upside down onto a board and put weight on top of it to help make the top of the cake flat.
I leave it like this for about 15 minutes. Then I take the weight and the pan off (be careful because the pan will still be hot) and let the cake cool completely.
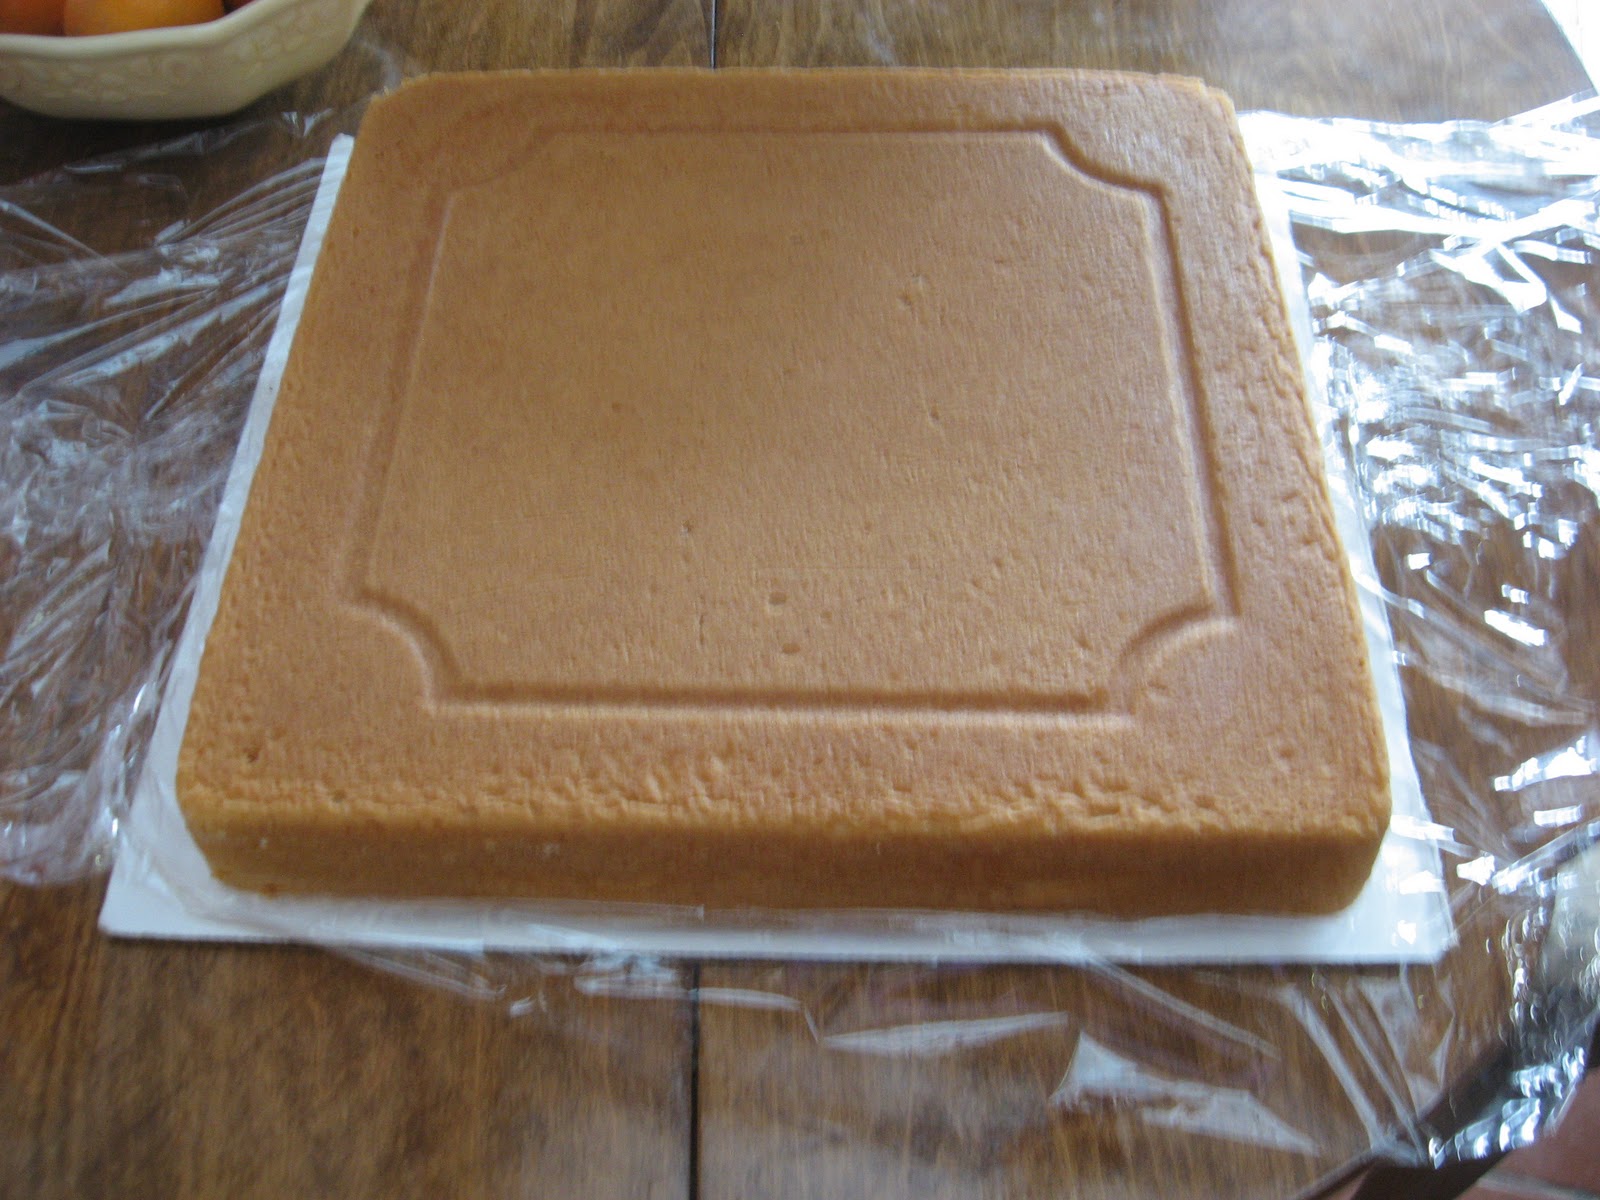
Once it's cool I wrap the plastic wrap up and around it, and put more plastic around it from the bottom (which is facing up at this point) I lay it over the bottom (pictured below), put the cake pan (which has been cleaned and thoroughly dried) on it, flip it back over and finish wrapping the plastic wrap around it.

 This is before I finished pulling the wrap all the way around it.
Now they're ready to be put in the freezer! I like to put them in there because that means I can bake them off whenever I have time in advance, it makes it easier to cut them if you're going to put a filling in them (it's just a little hard in the middle when it's frozen but there are less crumbs) and helps with frosting it since it's not so crumbly when it's frozen. Note: do not freeze a decorated cake, I have never tried this but I can imagine that the frosting would lose something and it will make the colors run when it thaws out. Also, if you're doing more than one of one size when the cake is frozen you can take it out of the cake pan and re-use the pan for the next one.

If you have the time to decorate your cake the day of don't worry about it being frozen, they thaw out quickly. So you could pull it out in the morning to decorate it and it'll be ready to be enjoyed within probably only an hour.

Next blog will be the fillings and fondant!!

Wednesday, January 26, 2011

Pasta with Garlic Crumbs

Well, tonight I made Pasta with Garlic Crumbs (it's actually called Rigatoni with Garlic Crumbs but I used Farfalle since I didn't have Rigatoni) and of course we had asparagus again. Hehehe

So here's the recipe, it's from my Pasta cookbook.

Pasta with Garlic Crumbs, it's a little spicy

-3 Tablespoons olive oil
-2 shallots, chopped
-8 strips lean bacon (I used smoked, YUM), chopped (this is an optional ingredient but I think it's a must)
-2 teaspoons crushed dried red chilies (otherwise known as crushed red peppers and you might want to use less or none at all if you don't like a little kick)
-14 ounce can chopped tomatoes with garlic and herbs (I didn't have this either so I used a can of plum tomatoes that I chopped and added garlic powder and italian seasoning)
-6 slices white bread
-1/2 cup butter
-2 garlic cloves, chopped
-1 pound rigatoni (or whatever pasta you want to use)
-salt and ground pepper (I didn't add either so as not to add any more sodium and it really doesn't need the pepper)

1-Heat the oil in a medium saucepan and fry the shallots and bacon, if using (which you should be :-), gently for 6-8 minutes until golden. Add the dried chilies and chopped tomatoes, half-cover and simmer for 20 minutes.

2-Meanwhile, cut the crusts off the bread and discard them. Reduce the bread to crumbs in a blender or food processor.

3-Heat the butter in a frying pan, add the garlic and bread crumbs and stir-fry until golden and crisp. (Don't let the crumbs catch and burn or the final result will be ruined.)

4-Cook the pasta in plenty of boiling salted water (again I didn't use the salt), according to the instructions on the package, until al dente. Drain well.

5-Toss the pasta with the tomato sauce and divide among four or six warmed serving plates.

6-Sprinkle with the crumbs and serve immediately.


It was amazing!!!! And of course I made the asparagus like I did last time. :-)

I will be blogging about a cake soon but I can't spill any of the secrets until it's done and gone because it's a seeeeecret. :-D

Enjoy!!!

Saturday, January 15, 2011

I'm blogging!!!

     So my sister Lynn told me that I need to start a blog for recipes since I post about the food I make on facebook. I'm not very creative (writing-wise) but I do love cooking and want to share the recipes I find. So here goes nothing!!
     I'm going to start off with my stove. We bought a 30 year old house with a (probably) 30 year old stove.
You can kind of see it there in the corner of the kitchen, it was electric with no window in the door. UGH!!! (We were just moving in, that's why there's a couch in the kitchen) So we got a new stove since I love to cook and a good stove makes for a happy wife. :-)

It is gas (converted for propane since we can't get gas out here) with convection. I LOVE it!!!!!

     So tonight I made Venison Chili, asparagus and garlic biscuits (I didn't have any cheddar cheese to make them cheddar garlic biscuits). Here's everything cooking:
And here's the food afterwards:
So the recipe for venison chili is from the Adirondack Cookbook that my mom and dad gave me for Christmas in 2006.

4 large onions, thinly sliced                              2 Tbs. parsley
2 cloves garlic, finely chopped                         1 tsp. Creole seasoning
1/2 cup vegetable oil                                       1/2 tsp. cayenne pepper
8 oz. mushrooms                                             1/2 tsp. oregano
2 lb. venison, diced or cubed                           1 cup beer
2 Tbs. chili powder                                         1/2 cup tomato paste
1 tsp. ground coriander                                   1 1/2 tsp. salt
1/2 tsp. ground cumin                                     2 or 3 cans kidney beans, drained
Dash of Tabasco

     Saute the onions and garlic in oil until they are limp and colored. Add the venison and mushrooms and brown. Add the rest of the ingredients and blend, except the beans. Reduce the heat and simmer for 1 to 1 1/2 hours. Add more beer if the mixture gets too dry. Cook until it is well thickened and rich in flavor. Just before serving blend in drained kidney beans until they are well heated. Pinto beans may be substitued for kidney beans. Serves 4 to 6

I left out the mushrooms and I used Franks hot sauce instead since that's my favorite, so you could use whatever hot sauce you like. I also added a small can of chopped tomatoes, I'll probably add a larger can next time just so I have more junks of tomatoes, or chop some fresh ones. We also sprinkled shredded mozzarella onto our chili.

     For the biscuits I just used baking mix and followed the directions for mixing it and I added garlic powder and fresh chopped parsley. I would have added cheddar cheese also if I had it.

     The asparagus was saute'ed in butter with garlic and once they were almost done I sprinkled parmesan cheese over them. YUMMO!!!

     If there's a recipe you've heard me talk about and want me to post just let me know. Or if there's a recipe that you think is awesome and want me to share let me know!! :-) I hope you enjoy!!!